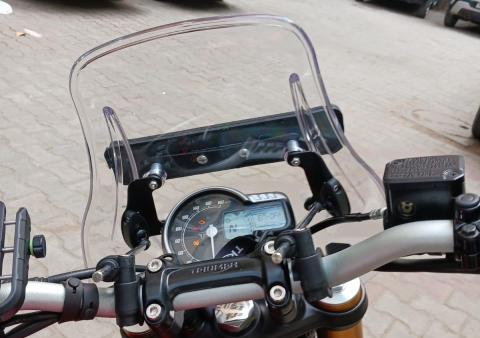
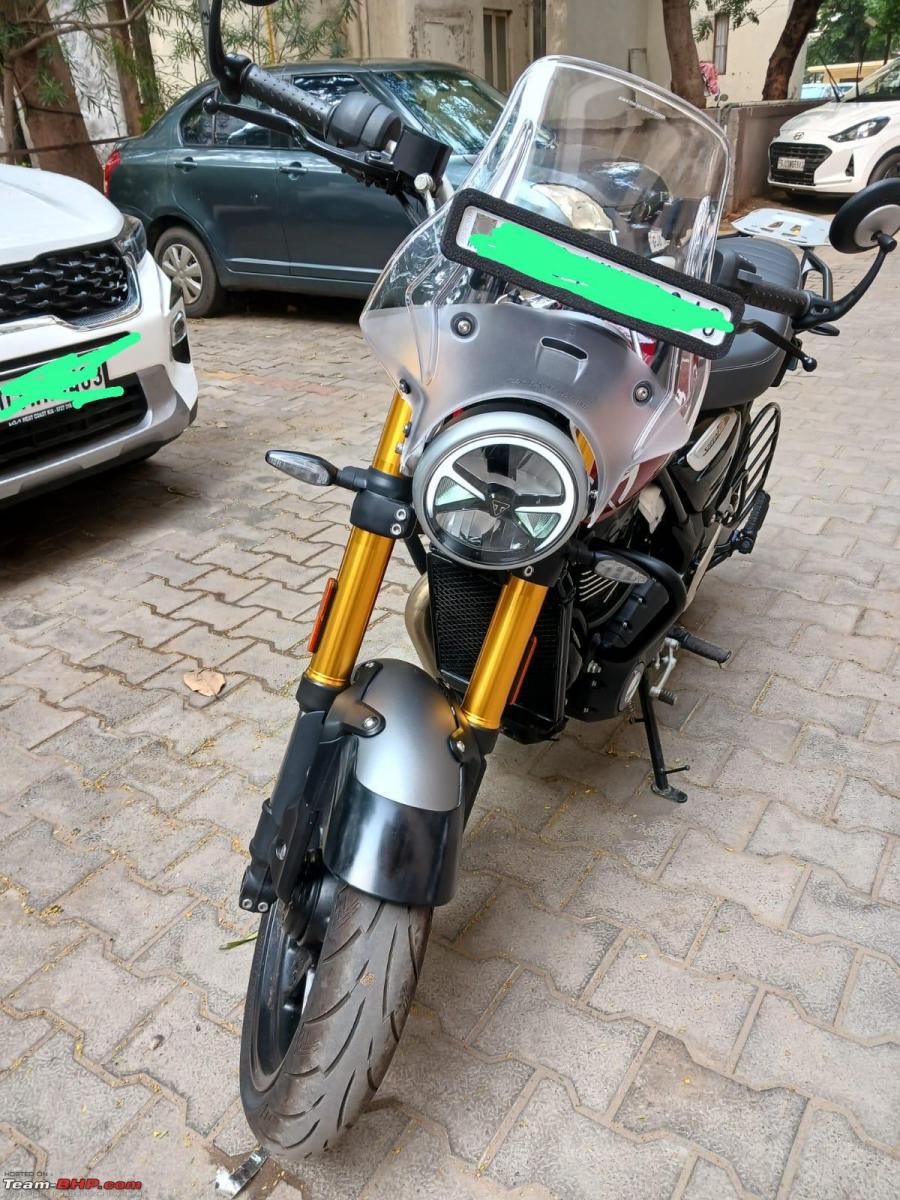
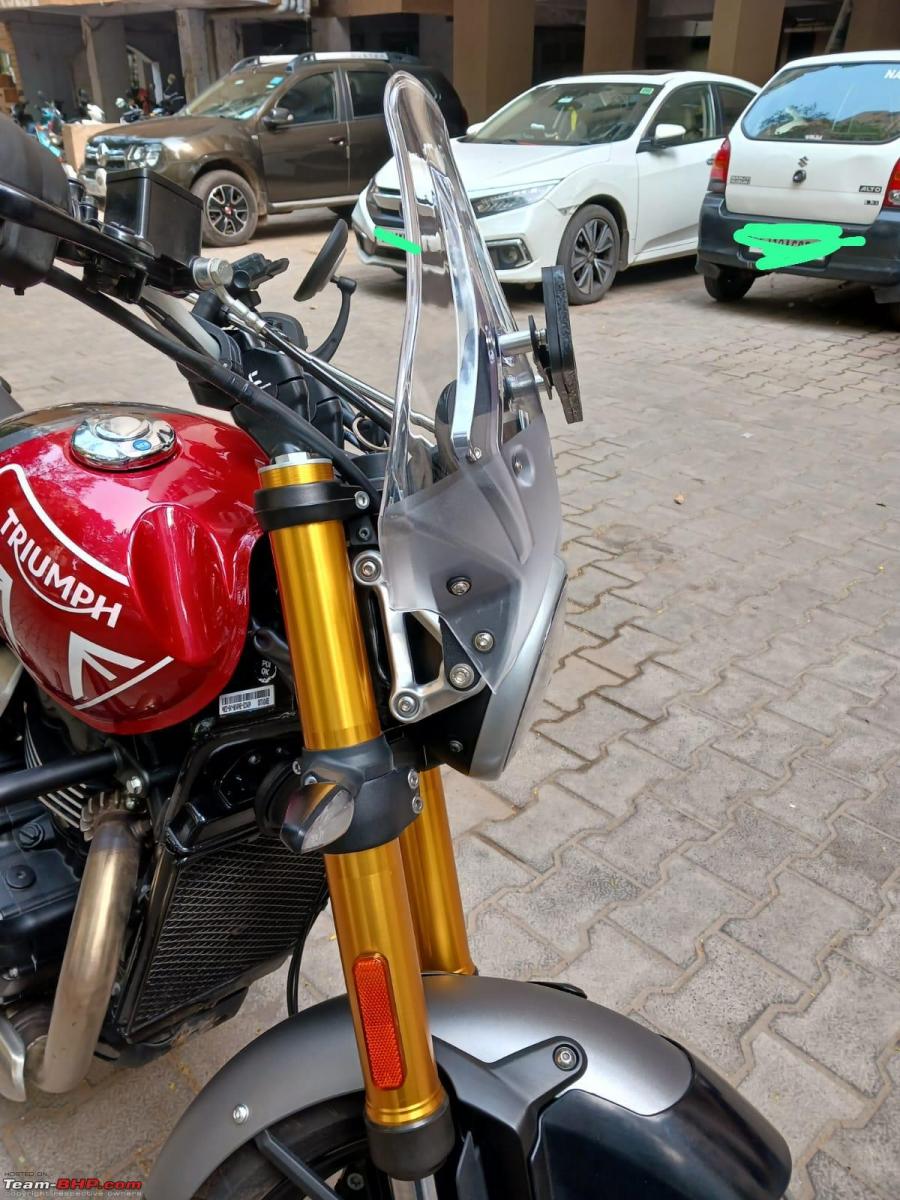
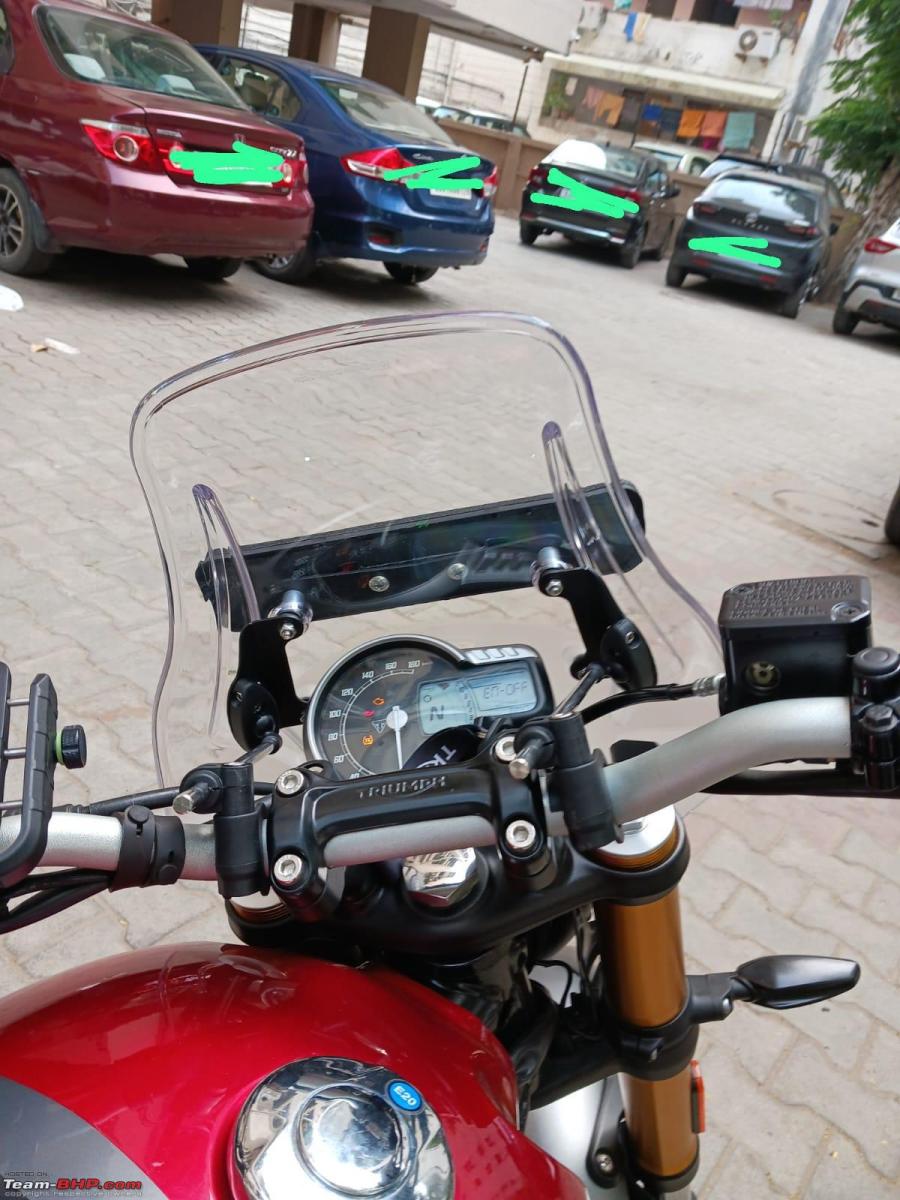
Pics: Installed carbon racing windscreen on my Triumph Speed 400
The assembly and installation are pretty straightforward and can be done by just one person.
BHPian davelok recently shared this with other enthusiasts.
I installed the Carbon Racing windscreen and number plate mount today. It would be great to get some instructions with the packages, but anyway what’s life without a little adventure.
The windshield comes with a box of all fasteners and mount points. You just need to figure out what goes where. Luckily, there are a couple of YouTube videos where the windshield is being installed on other bikes. These videos are very helpful, but you have to watch them carefully because there are a few crucial differences from bike model to bike model.
The assembly and installation are pretty straightforward and can be done by just one person. You’ll need 6mm, 7mm, 8mm, and 10mm hex screwdriver bits, and nut sockets (or small spanners) of the same size AND a pair of needle nosed pliers.
If you are going to mount the license plate to the windscreen using the mounting plate sold separately, you will need to remove the license plate holder from the bike first, before you do final assembly of the windscreen. This is important especially if the license plate has been fixed with rivets.
There are two bolts on each side of the headlight that hold the OEM license plate holder, and unscrewing them means that the headlight will also come loose from its mounting.
You need to remember to insert the top bolts of the windscreen’s top mount bracket into the alternative license plate holder first, before screwing the license plate on to it. Otherwise there’s no way to reach the hole later. When you fix this assembly to the windscreen, you’ll need needle nosed pliers to hold the bolts at their head as you tighten the nuts from behind. Of course, if the license plate has been screwed into its holder in the first place, you don’t need to jump through these hoops.
When you fix the assembled windscreen to the bike, remember to use the supplied headlight bolts and put away the OEM ones, or there is a risk that you’ll break something expensive. These supplied bolts come with a set of plastic spacers and washers, and once you see them, you’ll immediately get how to fix it.
Lastly, the handlebar mounts that hold the steel rods attached to the windscreen go on the thick part of the handlebar, which is the part near the middle, where it’s attached to the stem. Just remember that the bottom mount of the windscreen goes outside the silver headlight mount of the bike, not inside. The spacer goes in between the two, in the depressed part of the screw hole.
Once the job is finished, check the alignment of the headlight and adjust it before fully tightening the mount bolts.
Here are some photos that might be helpful to anyone who is interested in DIY jobs.
Check out BHPian comments for more insights and information.
Source: Read Full Article
