Installing a 70mai dual-channel car dash cam in my Jeep Compass
75% of the camera is not visible from my driving position. Its screen anyway goes off in 30 seconds so it’s not an active distraction.
BHPian CrAzY dRiVeR recently shared this with other enthusiasts.
25,000 kms update
The 25k km milestone came up early this month – while I was returning home after a short dinner meet with BHPians KarthikK and neil.jericho.
Number of days: 593 days (1 year, 7 months and 14 days) since purchase.
Average Usage: 42.2 kms /day.

The pace of driving has clearly reduced recently, especially after the arrival of the Triumph – my old Punto had completed 25k kms in just 10 months. No hopes of giving arun.josie a run for his money this time.
DEF / Adblue
This is one of the major queries an owner gets nowadays for a BS6 diesel car. Glad to report that I haven’t had any issues and the only attention required so far has been the regular refilling once every 5k – 6k kms or so.
Till recently Velvex Adblue (used by FCA themselves) was available on Amazon and I had a 5L home delivered and kept in reserve. But just before this year’s Great Indian Sale, the delivery options have been greatly reduced for this product – at least doesn’t deliver to my place anymore. Will need to stock up from FCA the next time I visit for service.
Some people hate Adblue refilling because it can spill, causing damage to the paint and stain marks over shoes and clothing items. After a couple of such refills, I have adopted this method of keeping a tissue sandwiched in the cap, which avoids the spill completely.
Nowadays I fill 5 litres once the indicator drops below 50% –

No spillage mess:


The new reading. Should last till the annual service coming up in March

Dashcam DIY
Got a small gift for the car to celebrate this milestone- a dashcam which was a long overdue purchase and a necessity these days. I saw good discounts on the 70mai A810 True 4K dashcam during the Amazon Great Indian Sale and took the plunge.
Cost? Rs 18,734/- including NEXDIGITRON polarizer filter (worth 999/-) thanks to Great Indian Festival plus HDFC credit card instant discount. Had to spend another 1.3k on the Samsung Evo Plus 256GB microSDXC memory card.
This one comes with HDR Dual Vision – 4K 3840×2160 native resolution for the front and HD for the rear. Read on the dashcam thread about Starvis 2 IMX and this comes with Starvis 2 for the front – another reason to try it out.
Cons – Is battery and not capacitor-powered, so hoping Bangalore temperatures won’t cause issues.
Wiring was done DIY, with some clips bought off Amazon for cable management. I need to rewire the rear though- reason as seen in pics below.
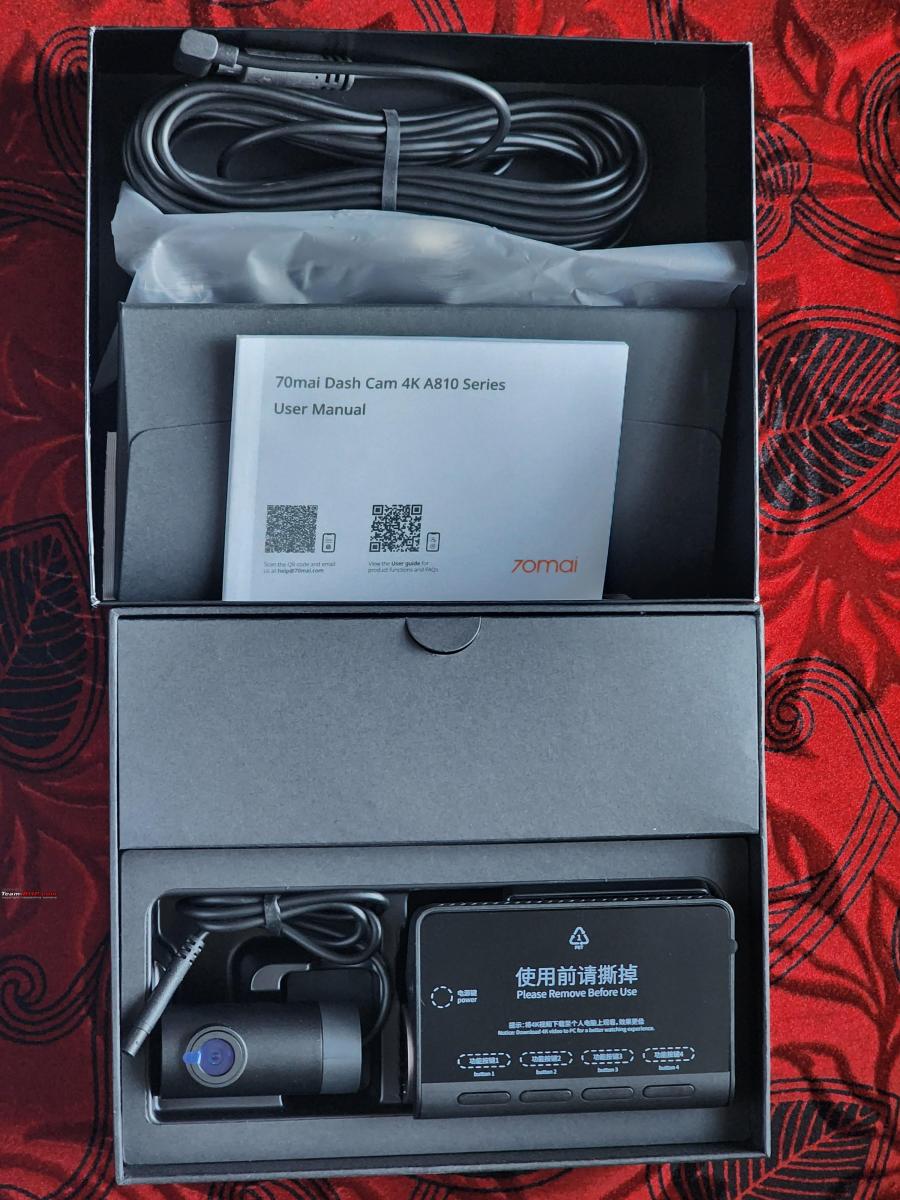
Unboxing the 70mai A810:
Tested both cams before installation and wiring. Front:

And rear:

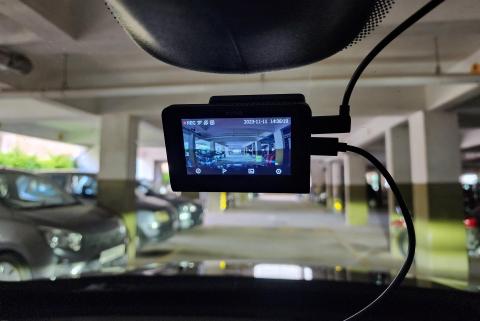
Attached the front cam below the mirror mount:
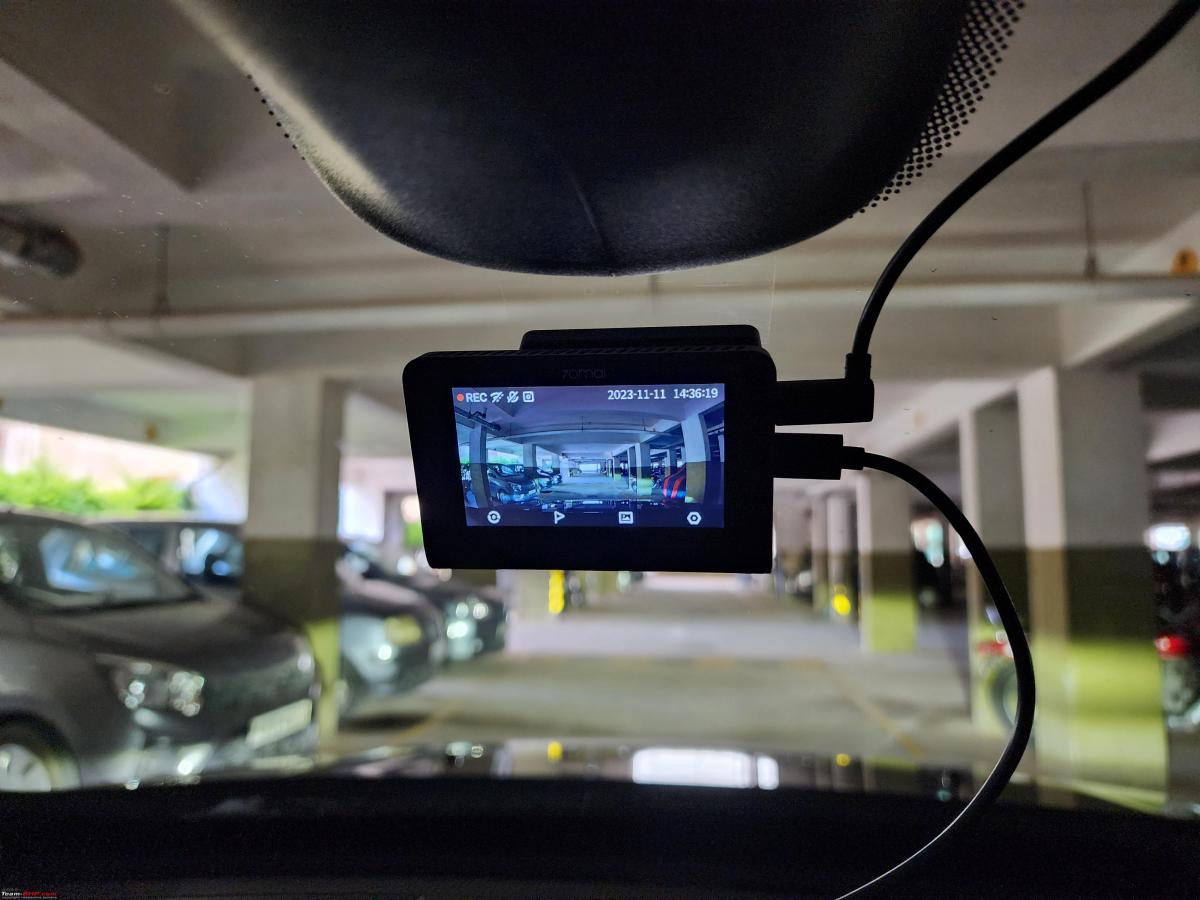

75% of the camera is not seen from my driving position. Kept a hint of it seen so I could make out if it’s running. Screen goes off in 30 seconds – so it’s not an active distraction:

Clips attached to the mirror housing to tidy up the wiring:

Wires routes through the clips:

Through the headliner on to the A-Pillar:

Goes inside the A-pillar into the door beadings. A pillar sits flush after the wire is pried inside:

Routed through the door beading to the driver footwell area.

The length of the provided cable was not enough to route it to the USB in the rear console, so I could route it only to the front:

Using clips to tidy up the wire in the center console area:

More clips to the rescue, to avoid the wire hanging down towards the pedal controls:

Final routing in the footwell area:

As seen from the drivers door area:

As seen from the driving position:

Camera mounting as seen from outside. Kept it slightly kept visible as an active deterrent:

Rear cam wiring
Wiring the rear camera was much harder and I was particularly feeling good about how it turned out, but for one grave miss.
The camera stuck above the rear glass and wire routed with the OE cables.

This was particularly irritating to pull off, passing the solid clip through this bent rubber sleeve with not much space to spare was tough:

Out through the roof liner, before routing it along the edge and into the C pillar:

Through the C pillar:

Through the rear door beadings:

Inside the B pillar (yep, that’s the big question!!!)

Through the front door beadings:

Passing to the A pillar:

On to the roof liner and camera:

The view from the rear camera as compared to the reversing camera:

How it looks from inside:

As seen from outside:

Rear cam wiring Reroute?
So the obvious elephant in the room – the crossing at the B pillar. Now, I passed it by sliding it in through the plastic trim in the B pillar assuming the airbag deploys from the roof liner just above it and not through the pillar. But then – friends have asked if there could be a possibility of the airbag getting caught in the wire when deploying and I guess that’s a possibility not worth the risk.
Safer to just re-route it I guess, but trying to figure out how. Can pass it through the base – but then it will be difficult to remove all those trims to conceal the wiring. I have some additional length for this cable, so wire length shouldn’t be a problem, as it was with the front.
Suggestions welcome.
Check out BHPian comments for more insights and information.
Source: Read Full Article